Friday, November 26, 2010

Maple Planked Brie

Note about the guest blogger- Veronica Culver

Veronica Culver is a marketing professional in the high tech industry by day, and by night she is the author, photographer, chief cook and bottle washer for the innovative food blog The Enchanted Cook. She is an "eclectic eater" and loves to share her recipes, food and travel experiences.
Mmmm, warm melty brie crusted with sliced almonds and chewy dried cranberries, drizzled with honey...what a delicious small plate! Just perfect for the holidays, or any time of the year.

Imagine a cold snowy day, a warm crackling fire blazing away in the fireplace and everyone gathered around chatting after a long day of skiing enjoying this melted Brie with a glass of Chardonnay before dinner. Sounds like fun to me!


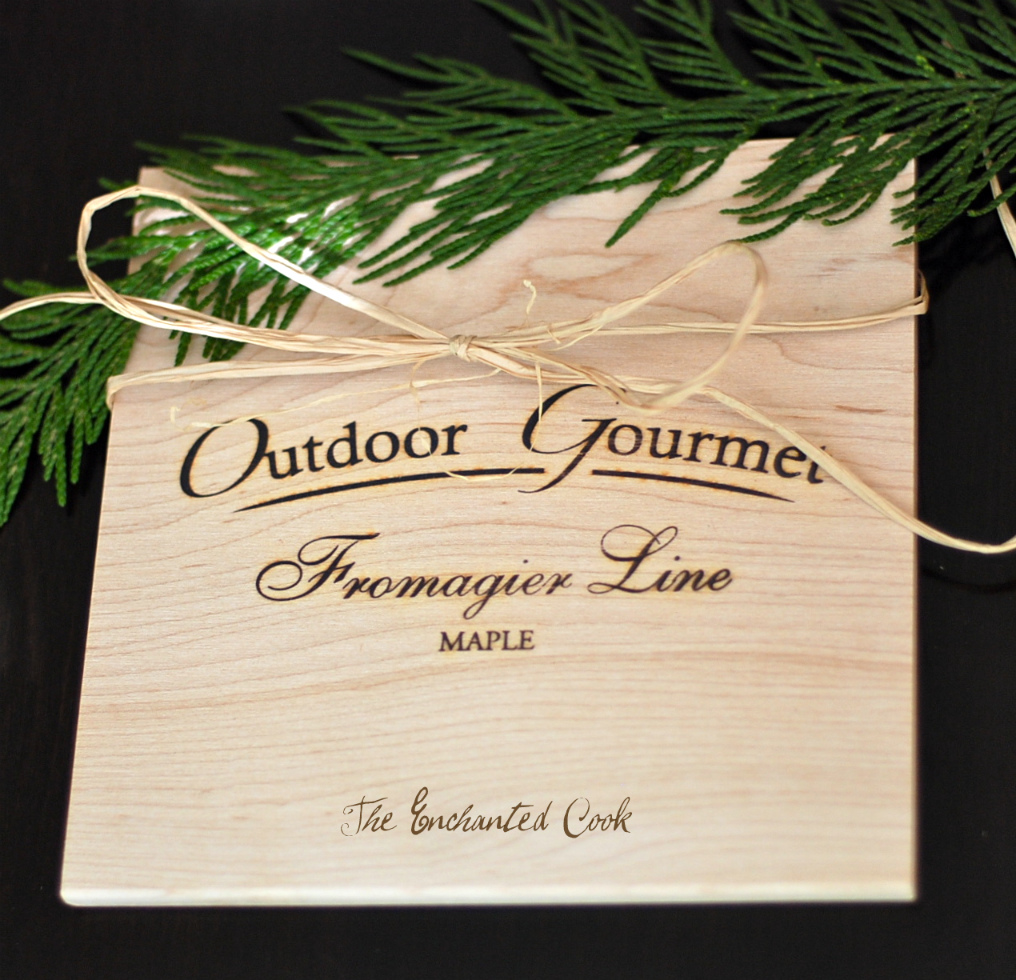
Outdoor Gourmet, environmentally-conscious maker of gourmet grilling planks made from reclaimed wood, was kind enough to send me a sample pack of some of their items to try. Their Fromagier Line of planks really caught my eye.

 
Along with the instructions they included great serving suggestions:


Just soak the plank submerged in water for at least an hour before using.


After your plank has soaked for an hour, it's ready for use.

Maple Planked Brie

Outdoor Grill 400 degrees F
Serves 4-6 as an appetizer


Ingredients:

1 7-inch x 7-inch Outdoor Gourmet Maple Plank, pre-soaked in water

1 wedge Brie cheese (I used Supreme French Brie)

2 Tablespoons honey

2 Tablespoons sliced almonds

2 Tablespoons dried cranberries


Place the wedge of Brie in the center of the plank. Drizzle with half of the honey, then arrange slices of almonds on top and press on the sides. Sprinkle with cranberries and drizzle with remaining honey.

Place plank with Brie directly on grill and close the lid. Check brie after a few minutes to see if it is melted. I used a particularly soft and creamy Brie, so it only took about 5 minutes or so. Once melted, remove from grill and serve immediately with slices of French baguette and/or crackers.


I love companies like Outdoor Gourmet that are environmentally responsible. They source their raw material in a way that respects the environment. They don't cut down any trees; instead, they recycle seconds (off grade lumber).

Friday, November 19, 2010

Planksgiving©

Today was the first annual planked Thanksgiving Feast and as most Northwesterners will tell you, the holidays are often paired with a lot of that white, sometimes-fluffy, cold stuff. It's okay. We're used to it. Grilling in the snow doesn't scare me one bit- the 20 lb. bird on the other hand... scary, but do-able.
This morning, I drained off the aforementioned brine water, patted my bird dry, stuffed it with as many Walla Walla sweet onions and fresh herbs as it's cavity would hold, then got to work with the herb butter.

This wasn't just any herb butter... this was hand-rolled Amish butter, with fresh thyme, sage, an entire bulb of organic brown tempest garlic, celtic sea salt, and rosemary from my Momma's garden. I'd have been happy with just a smear of this and hunk of bread, but I had 14 hungry people headed my way, so the herb butter was carefully placed under the turkey's skin and a light coating was rubbed on the outside. Now the bird was ready.

My turkey spent the first several hours of cooking time in the oven at 350°, then was transferred out to the grill on a burly one-inch-thick cedar turkey plank, made especially for this occasion.
Once added to the Outdoor Gourmet cedar grilling plank, the bird took on a great redish-brown color from the mix of cedar plank and hickory smoking chunks.
The ribs hit the gas grill around the same time as the turkey, but they were on a rough-cut piece of hickory and was served with ginger orange zest cranberry sauce.
We pulled the bird when the thermometer read an internal temp of 140° and foiled for a resting period of 15-ish minutes. The ribs- honestly, I was running around mashing potatoes and filling ramekins with Amish butter, so they just got pulled when they looked done.

Along with our meaty entrées, we served brussel sprouts with shallots in white wine sauce, fruit and nut stuffing, chilled barley and broccoli salad with feta, grilled sweet potatoes, and of course, mashed potatoes with brine dripping gravy.
Friends brought homemade bread, pies, babies, wine, and dogs along for the feast, which was held in the wood stove-heated garage with a couch, four chairs, and five coolers as seating.
When it came time for pie and fresh whipped nutmeg cream, we were out of plates, so Styrofoam cups made for a classy, yet ergonomic vessel.
Dishes- done. Turkey carcass- simmering into stock. Now I need to go sleep off this food and wine induced comma. Happy Planksgiving to one and all!!

Welcome to your Planksgiving weekend! -KB

Thursday, November 18, 2010

Planksgiving© Prep

It's simple- everyone says so, but at the sweet, young age of twenty-three, this is my first time. I can't help but be nervous- I'm preparing my first traditional Thanksgiving dinner, except it will be going down the Friday before the big day.

I
unwrapped my turkey, looked it square in the gizzard and said "I'm not scared of you!" It's important to establish dominance right off the bat. As Cesar Millan would say- "be the pack leader." Or in this case, the flock leader? Well, whatevs, I just need to plank this bird for the first annual Planksgiving© (copyright symbol- this mean, y'all F&F-ers!) which is tomorrow and we are already having some logistical problems.

The bird has been thawing for three days and it's still pretty frozen and this thing needs to hit the heat in t-minus 20 hours.
A quick trip to wikihow's HOW TO DEFROST A TURKEY taught me...

As a rule of thumb, you'll need 24 hours for every five pounds of bird, so a 20-pound bird will require four full days of defrosting time.
As I am 24 hours behind the curve, I am going with an alternative. Overnight brining.

Here's how I made my brine...

I grabbed whatever homemade stock I had in the freezer, some coarse sea salt, a couple bay leaves, fresh thyme, cracked black pepper, and a PBR for good measure. Cooked it all together and then plopped the bird in the largest pot I could find- it was a tight fit. Then I covered the bird and brine with cold water and put the whole unit back in the fridge.

Ok, turkey is brining, now for the ribs. We're going to go for a traditional Thanksgiving dry-rubbed short rib, just like the pilgrims shared with Squanto that first Thanksgiving.

* 1/2 cup brown sugar
* 1/4 cup paprika
* 1 tablespoon black pepper
* 1 tablespoon Johnny's Sea Salt
* 1 tablespoon chili powder
* 1 tablespoon garlic powder
* 1 tablespoon onion powder
* 1 teaspoon cayenne

Combine all these in a bowl, mix 'em together, then rub your ribs. Wrap your ribs in foil and they take a spot in the quickly dwindling refrigeration space as well.

Tomorrow, we will be planking these two main attractions, but for an extra smoky kick, the gas/charcoal will be forgone in favor of Hickory smoking chunks.
Now I'm off to chop some veggies and make some pies, but the bird and ribs are prepped for the big day. Stay tuned for more Planksgiving fare.

Welcome to your Planksgiving weekend! -KB

Sunday, November 14, 2010

¡Bienvenidos al primer entrada afuera- en Argentina!

Note about the guest blogger- Amanda Baker.
Outdoor Gourmet guest blogger Amanda Baker sends greetings from South of the border while studying abroad in Argentina and she's got news- of food, that is! Thanks, Amanda!

While Argentina is not known for its intensity of flavors, it is known for its high quality food and how to bring out the best in the most simple of flavors. Ranking #2 in beef consumption, Argentines eat about 121 pounds of beef per capita per year, and for definite reasons. Something about free range cows fed from the rich grasses of the pampas that make all of the cuts of the highest quality. When quality is good, you do not need much to season it. Just a little bit of salt added to a piece of lomo while searing over a wood ember parilla and you almost have a meal fit for an Argentine. While the meat is of a very high caliber, Argentine side dishes leave much to be desired. Salads normally consist of either carrots and tomatoes in a bowl or eggs and potatoes in mayonnaise. I suggest you leave more room on your plate for the main attraction, as it deserves center stage.

-Amanda

After hearing about the grade A beef that Amanda has been enjoying, I did a little research if my own. It seems that Argentines love to top their beef with cheese- so here's a recipe for a planked twist on Argentinian fare.

Outdoor Gourmet Cedar Planked Fillet Mignon with Blue Cheese Crumble

Ingredients

2 or 3 Outdoor Gourmet Cedar Grilling Planks, soaked for an hour of more
12 slices of bacon (2 for each fillet)
6-8 Fillet Mignon steaks, trimmed
2 tbsp. of your favorite BBQ Rub
¼ C. Bourbon
2 tbsp. olive oil
¼ C. chopped fresh herbs (Parsley, sage, rosemary and thyme)
1 tbsp black pepper
¼ lbs. crumbled blue cheese
1 small onion diced
2 tbsp. balsamic vinegar
1 C. croutons
Salt and pepper to taste

Directions

First: Cook the bacon in a frying pan until ½ way cooked, then use a paper towel to dry off excess fat. Let cool.

Then: In a small bowl whisk together the BBQ rub, bourbon, olive oil, 2 tbsp. of the herbs and black pepper. Wrap the bacon strips around each fillet, securing with a toothpick. Drench each steak with the sauce then seal in a container with plastic wrap and refrigerate for at least 2 hours.

Next: To make the cobbler topping, in a bowl combine the crumbled blue cheese, onion, the remaining herbs and the balsamic vinegar. Smash up the croutons lightly and fold them gently together into the blue cheese mixture. Form into patties the same size as your fillets, cover and set aside.

Then: Pre-heat grill to high heat, Open the lid carefully and arrange the fillets on the plank. Close the lid and cook for approx. 8 min. Turn the steaks and cook for another 5 minutes. Place one patty of blue cheese topping on each steak and cook for another 5 min., until the topping develops a crust. Use a spray bottle of water to extinguish any flames around the plank during cooking.

Finally: Take the smoldering plank directly to the table and place on a heat-proof platter. The plank will add excitement to the meal and keep the fillets warm while serving. Enjoy!

Welcome to your weekend! -KB

Wednesday, November 10, 2010

Yellowstone National Park- the world's first national park spans 2,219,798 acres and three states. Wyoming, Montana, Idaho- Wytanaho! Most of the park sits around 8,000 ft. or above, therefore is closed to vehicles other than snowmobiles for about half the year. During the summer, the tourist come in droves, so we opted for a one-week-before-park-closure visit. Geothermal activity spits, sputters, and steams in mineral hot pots and geysers all over this still-very-active volcanic plateau.

I'm usually of a mind that warning signs, boardwalks, and barriers are meant for everyone, that is, except for me. But after taking in some of the not-so-subtle signage around the park, I decided that the boardwalks were the place to be.
Wildlife run free, fat and unencumbered (unless you count wolves as cumbersome) around Yellowstone. Bison hang out by the heard, paying no heed to the passing cars. We glimpsed two grizzly bear that could barely waddle due to their girth- hibernation is close at hand.
Seeing the all those bison and the winter-ready bear got my wheels turning- I need to fatten up for winter. What is a good, fatten up for winter-type of nosh? Burgers! Which brings me to this week's recipe...

Alder Planked Bison Burgers
(No Yellowstone Bison were eaten in the creation of this blog... 'cause that's super-illegal.)
Ingredients

Outdoor Gourmet Grilling Plank, soaked for an hour or more
1 lb. lean ground bison
4 cloves of garlic, chopped
1/4 cup Parmesan cheese, grated
1 tsp. Worcestershire sauce
1/4 cup sun dried tomatoes, chopped

Instructions

First- Soak OG grilling plank for an hour or more. Combine all ingredients in a large bowl, if they aren't sticking together properly add an egg.

Then- Shape into 3-4 burgers.

Next- Place Burgers on plank and add plank, grill on high for 15-20 minutes.

Add- Cheese, if you please.

Finally- Remove and enjoy!

Welcome to your weekend. -KB

Thursday, November 4, 2010

Cedar Planked Steelhead- A Northwest Classic

For centuries, native tribes of the Pacific Northwest hung their fresh-caught fish over open fires, fastened to hand-split pieces of Western Red Cedar.

Fast forward a bit and the backyard grill was invented. Shortly thereafter, Outdoor Gourmet started producing more manageably-sized pieces of Western Red Cedar to cook with and blam! The modern-day grilling plank was born and we've been planking ever since.

What we're planking this weekend- Fall Steelhead.

Steelhead (Oncorhynchus Mykiss) are rainbow trout that migrate to the ocean, then return to fresh water to spawn-fish that do this are called anadromous fish. In Idaho, the Fall Steelhead run (the A-Run) is on right now. The Spring (B-Run) starts sometime in June and traditionally boasts much larger fish than the A-run. The Spring runners have spent two years in the ocean, opposed to the Fall fish, which only spent one year out at sea.

So, how are Steelhead different than Salmon? Well, for our purposes, they aren't that different. Salmon and Steelhead both migrate up river to spawn and rely mostly on krill as their food source, which gives them that nice pink-orange coloring. Once filleted, the two are almost identical in color, taste, and texture. If put to a blind taste test, I would struggle to tell the two apart.
The major difference is once you get to the cold case. Steelhead is much less expensive than Coho, Chinook, or Sockeye Salmon, and in my opinion, just as good.

Here’s how it works:


First - soak your cedar grilling plank in water. An hour or two prior to grilling will work just fine, but a longer soak time permits the plank to absorb more moisture. This allows for more cedar-infused water vapor to be released during the grilling process.

Next - season your Steelhead fillet, if you please. I used this brown sugar, paprika, chili rub for the first time and it was great! I find that using a maple syrup, agave, honey, or brown sugar lightly caramelizes the outside of the fish, which aids in moisture retention. That, and it's delicious!
Then- get your grill up to medium heat (350-400 degrees). Place the wet plank on the pre-heated grill and heat plank for another 5 minutes before adding your fillet. This allows the plank to begin to smolder and smoke. Place your fillet skin side down on the plank and close grill lid. No flipping, turning, or tweeking is needed.

Finally- Cook to your liking, carefully remove, and enjoy. It's just that simple.

Happy Steelhead Season! Welcome to your weekend. -KB